Ensuring that your roof is watertight is crucial for protecting your home. Even small nail holes can lead to leaks and significant damage over time. At Champion Restoration and Construction, we understand the importance of maintaining a durable and leak-free roof. Here’s a guide on how to find and fix nail holes in your roof.
Understanding the Issue with Nail Holes
Roofs are designed to be impenetrable barriers against the elements, but the very process of installing roofing materials involves creating holes for nails or screws. These penetrations, if not properly sealed or maintained, can become entry points for water.
How Nail Holes Cause Leaks
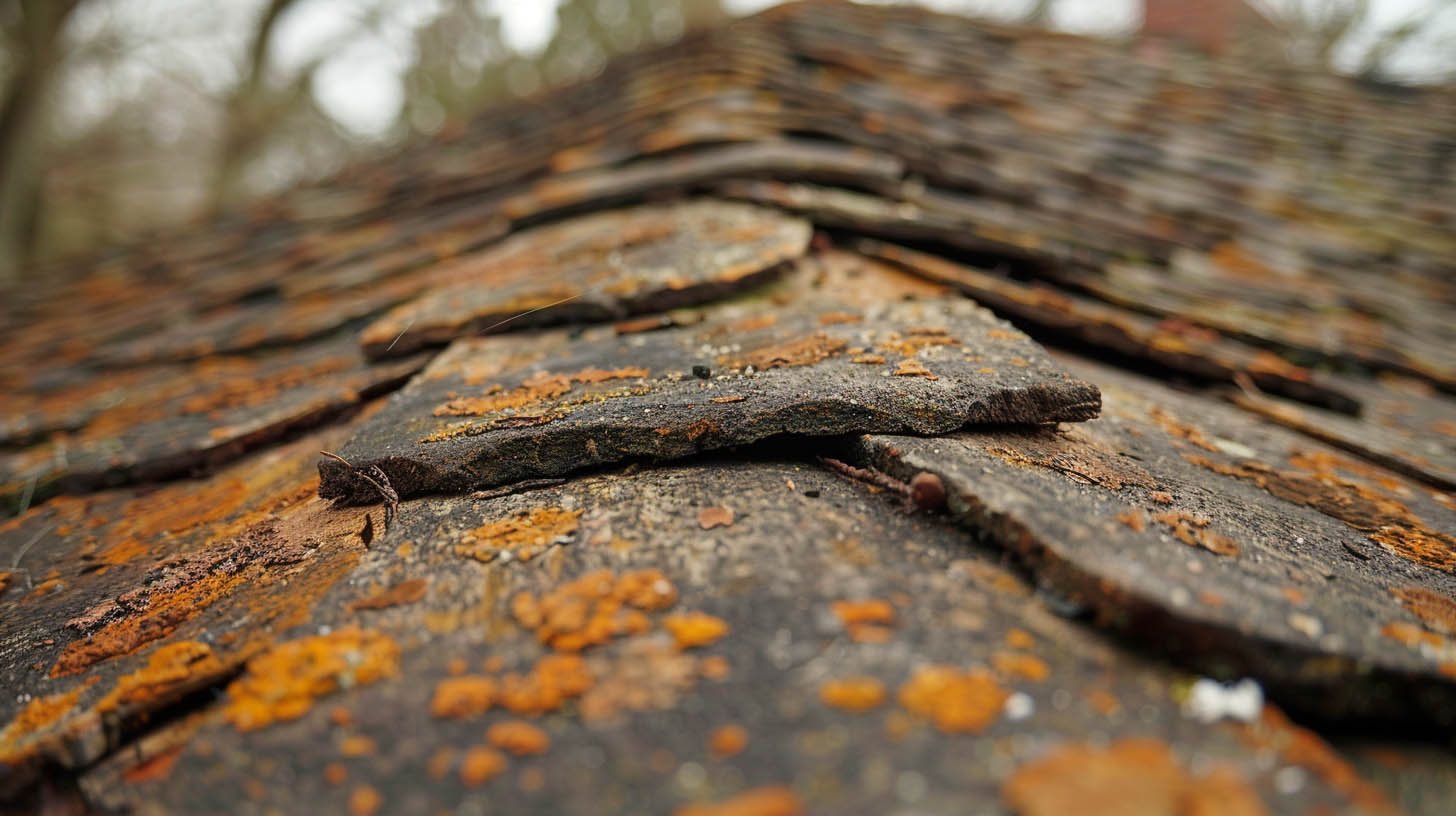
- Exposure Over Time: Shingle nails are typically covered by overlapping shingles. However, over time, weather conditions can cause shingles to shift or deteriorate, exposing nail holes.
- Weather Impact: Wind, rain, and temperature changes can cause shingles to wiggle and expand the nail holes, allowing water to seep in.
- Lack of Maintenance: Without regular maintenance, small issues can go unnoticed until they become significant problems.
Steps to Identify Nail Holes
Attic Inspection
One effective way to find nail holes is by inspecting your attic on a sunny day.
- Safety First: Ensure you have a safe path to move around your attic. Use a flashlight to navigate dark areas.
- Look for Light: Carefully scan the attic ceiling for any spots where daylight is visible. These pinpoints of light indicate potential nail holes or gaps.
- Mark the Spots: Mark these spots with chalk or tape for easier identification when addressing them from the roof.
Roof Inspection
After identifying potential problem areas from the attic, inspect the roof surface.
- Helper Needed: Have someone assist you from inside the attic to point out the marked spots while you inspect the roof.
- Check Shingles: Look for loose, cracked, or damaged shingles around the marked areas. Pay attention to any exposed nails.
Fixing Nail Holes
Temporary Fix
For a quick fix, especially if rain is expected soon:
- Roofing Tar: Apply roofing tar over the exposed nail holes. Ensure the surrounding area is clean and dry before application.
- Seal the Area: Spread the tar evenly to cover the hole and the surrounding area. This will provide a temporary seal against water ingress.
Permanent Repair
For a more permanent solution, consider replacing the damaged shingles.
- Remove Damaged Shingles: Carefully lift the surrounding shingles and remove the damaged one. Use a pry bar to lift the nails.
- Install New Shingle: Slide a new shingle into place, aligning it with the existing ones. Nail it down securely and apply a dab of roofing tar over the nail heads for added protection.
- Seal Edges: Ensure all edges and overlaps are sealed properly to prevent future leaks.
Conclusion
Regular inspections and timely repairs can prevent minor issues from becoming major problems. If you notice any signs of roof damage or suspect nail holes, addressing them promptly will save you from costly repairs in the future. For professional roof inspection and repair services, contact Champion Restoration and Construction. Our team is dedicated to maintaining the integrity and durability of your roof.
For more information on Preparing Your Home for Cold Weather: Essential Tips, click here.