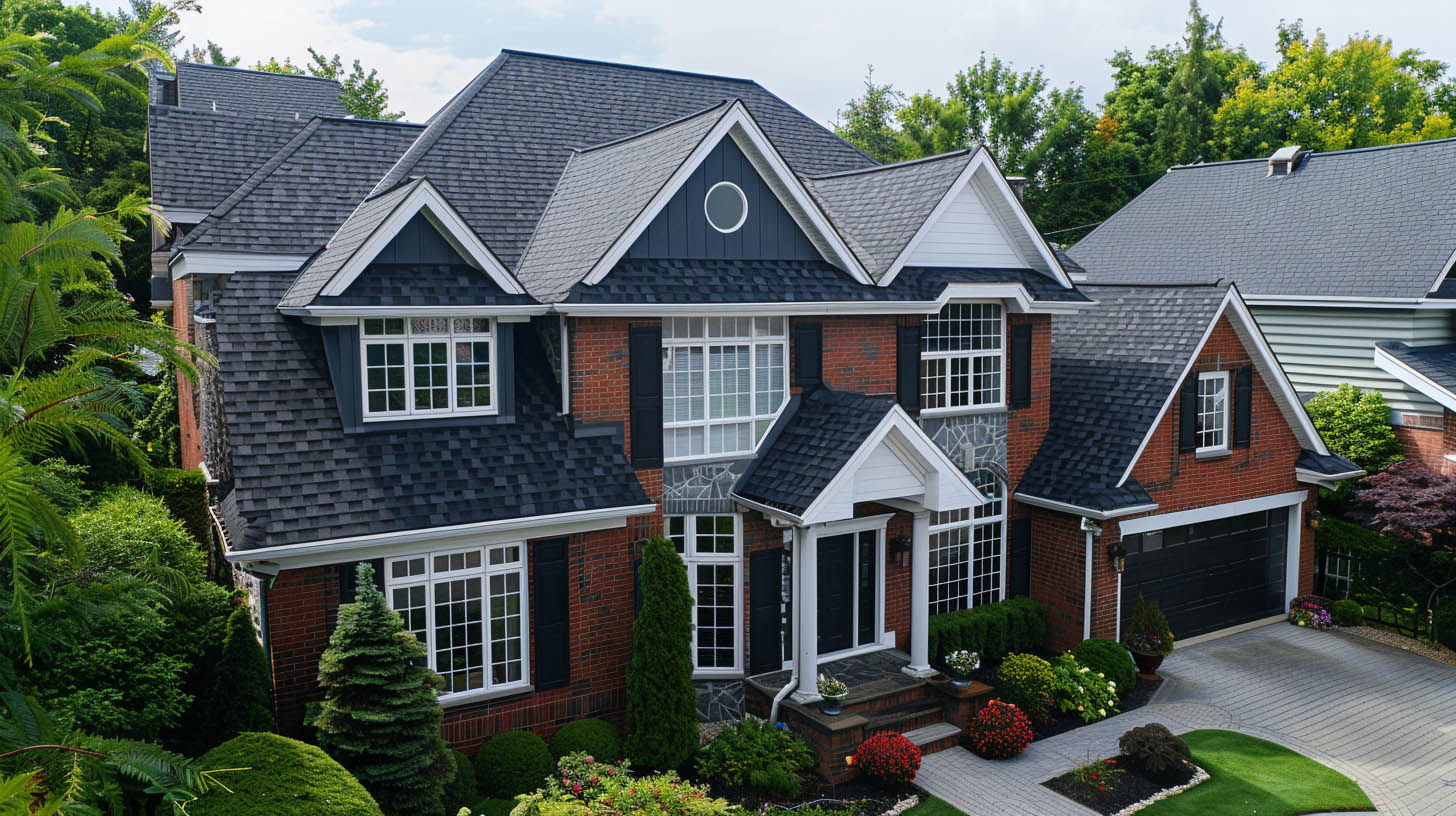
Importance of a Strong Roof
At Champion Restoration and Construction, we understand that a strong roof is crucial for protecting your home from the elements and maintaining its aesthetic appeal. Here are five essential insights into the roof replacement process.
1. Choosing the Right Materials
The material of your roof significantly impacts its durability, cost, and appearance. Common roofing materials include:
Asphalt Composition Shingles
- Popular and cost-effective
- Easy to install and maintain
- Lifespan: 15-40 years
Wood Shingles
- Natural and aesthetically pleasing
- Not suitable for fire-prone areas
- Lifespan: 25-30 years
Standing-Seam Metal Roof
- Durable and fire-resistant
- Complex installation
- Lifespan: 30-50 years.
Slate Roofing
- Highly durable and long-lasting
- Expensive and requires professional installation
- Lifespan: Over 100 years
2. Understanding Costs
Roof replacement costs vary based on material, size, and contractor. Average costs for common materials:
- Asphalt Shingles: $7,000 – $12,000
- Wood Shingles: $14,000 – $25,000
- Metal Roof: $23,000 – $30,000
- Slate Roofing: $25,000 – $50,000
3. Optimal Timing for Replacement
Roofing companies have busy and slow seasons. Scheduling your roof replacement during the off-season can save you money and ensure quicker service.
4. Layering vs. Full Replacement
Layering shingles can be a cost-effective solution but consider:
- Additional weight on the roof structure
- Potentially carrying over old problems
- Warranty requirements
5. The Roof Replacement Process
Step-by-Step Process
- Remove Existing Shingles: Access and repair the wooden sheathing.
- Repair Wood if Needed: Replace damaged sheathing.
- Install Ice Protection (if needed): Protect sheathing from ice melt.
- Lay Roofing Paper: Create a water-resistant barrier.
- Apply Metal Drip Edging: Control water flow away from sheathing.
- Install New Valley Flashing: Protect areas where roofs meet.
- Apply Shingles: Start from the eaves and work upwards.
- Install Flashing: Around chimneys, skylights, and vents.
- Install Ridge Vent: Ensure proper attic ventilation.
- Cleanup and Debris Removal: Leave the premises clean and tidy.
Conclusion
Understanding the roof replacement process helps you make informed decisions and ensures your home remains protected and aesthetically pleasing. Trust Champion Restoration and Construction for expert roofing services.
If you want to know Top Roofing Questions Answered, click here.